Milk Bread Creations
Starting off the year with vegan milk bread loaves and caramelized pineapple coconut sticky buns
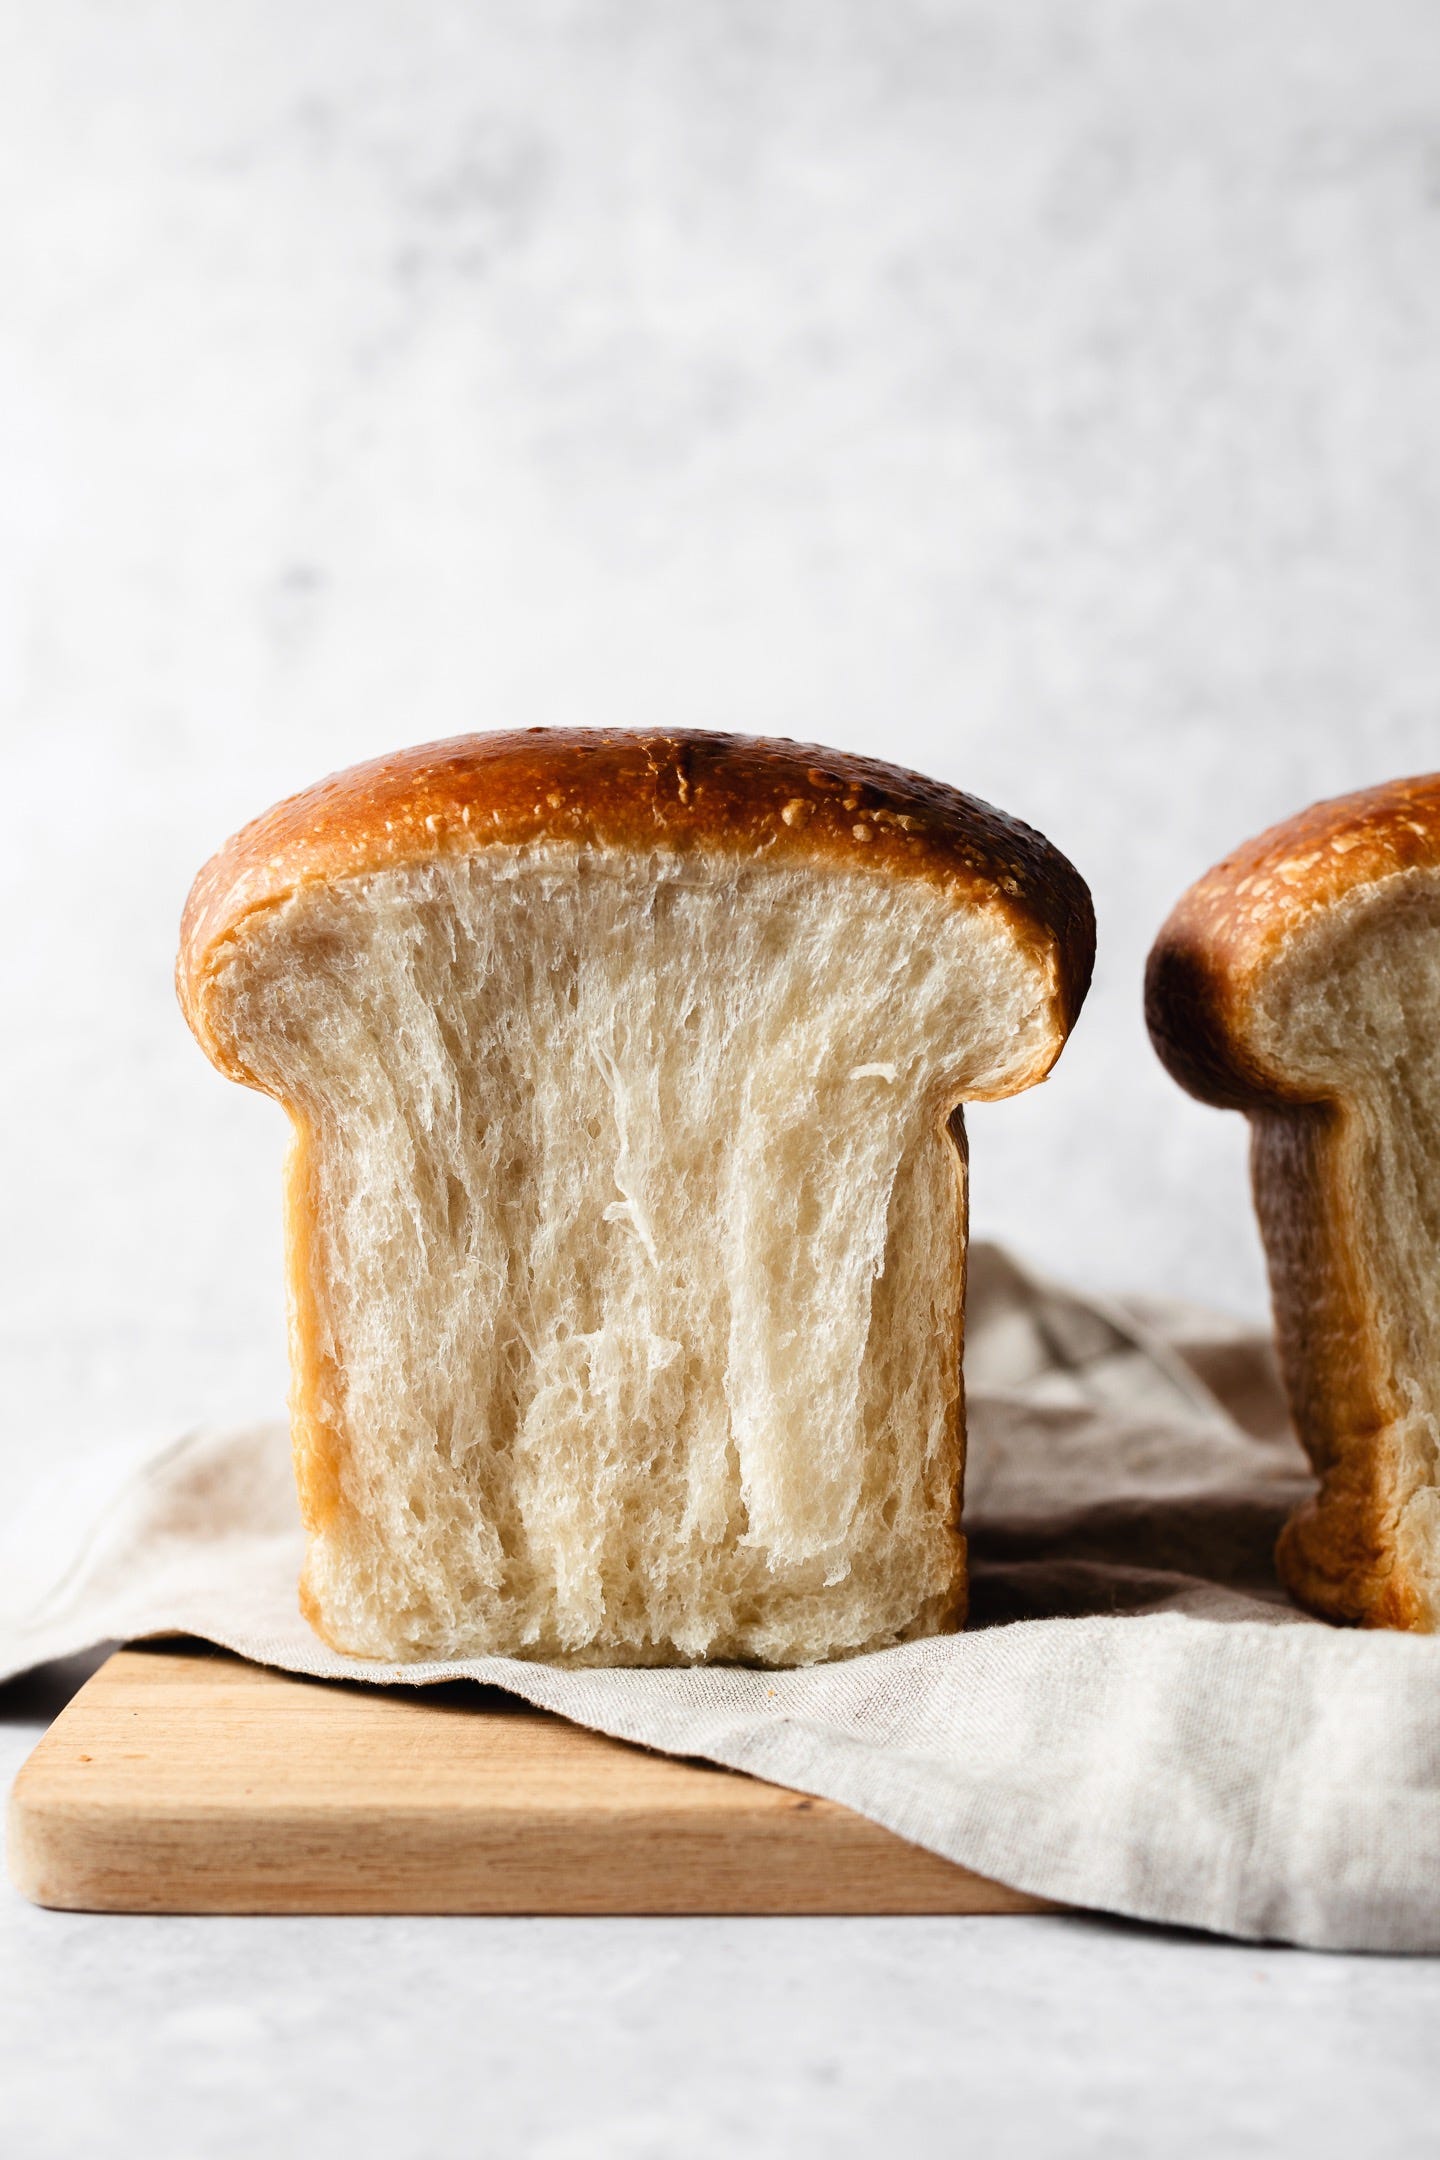
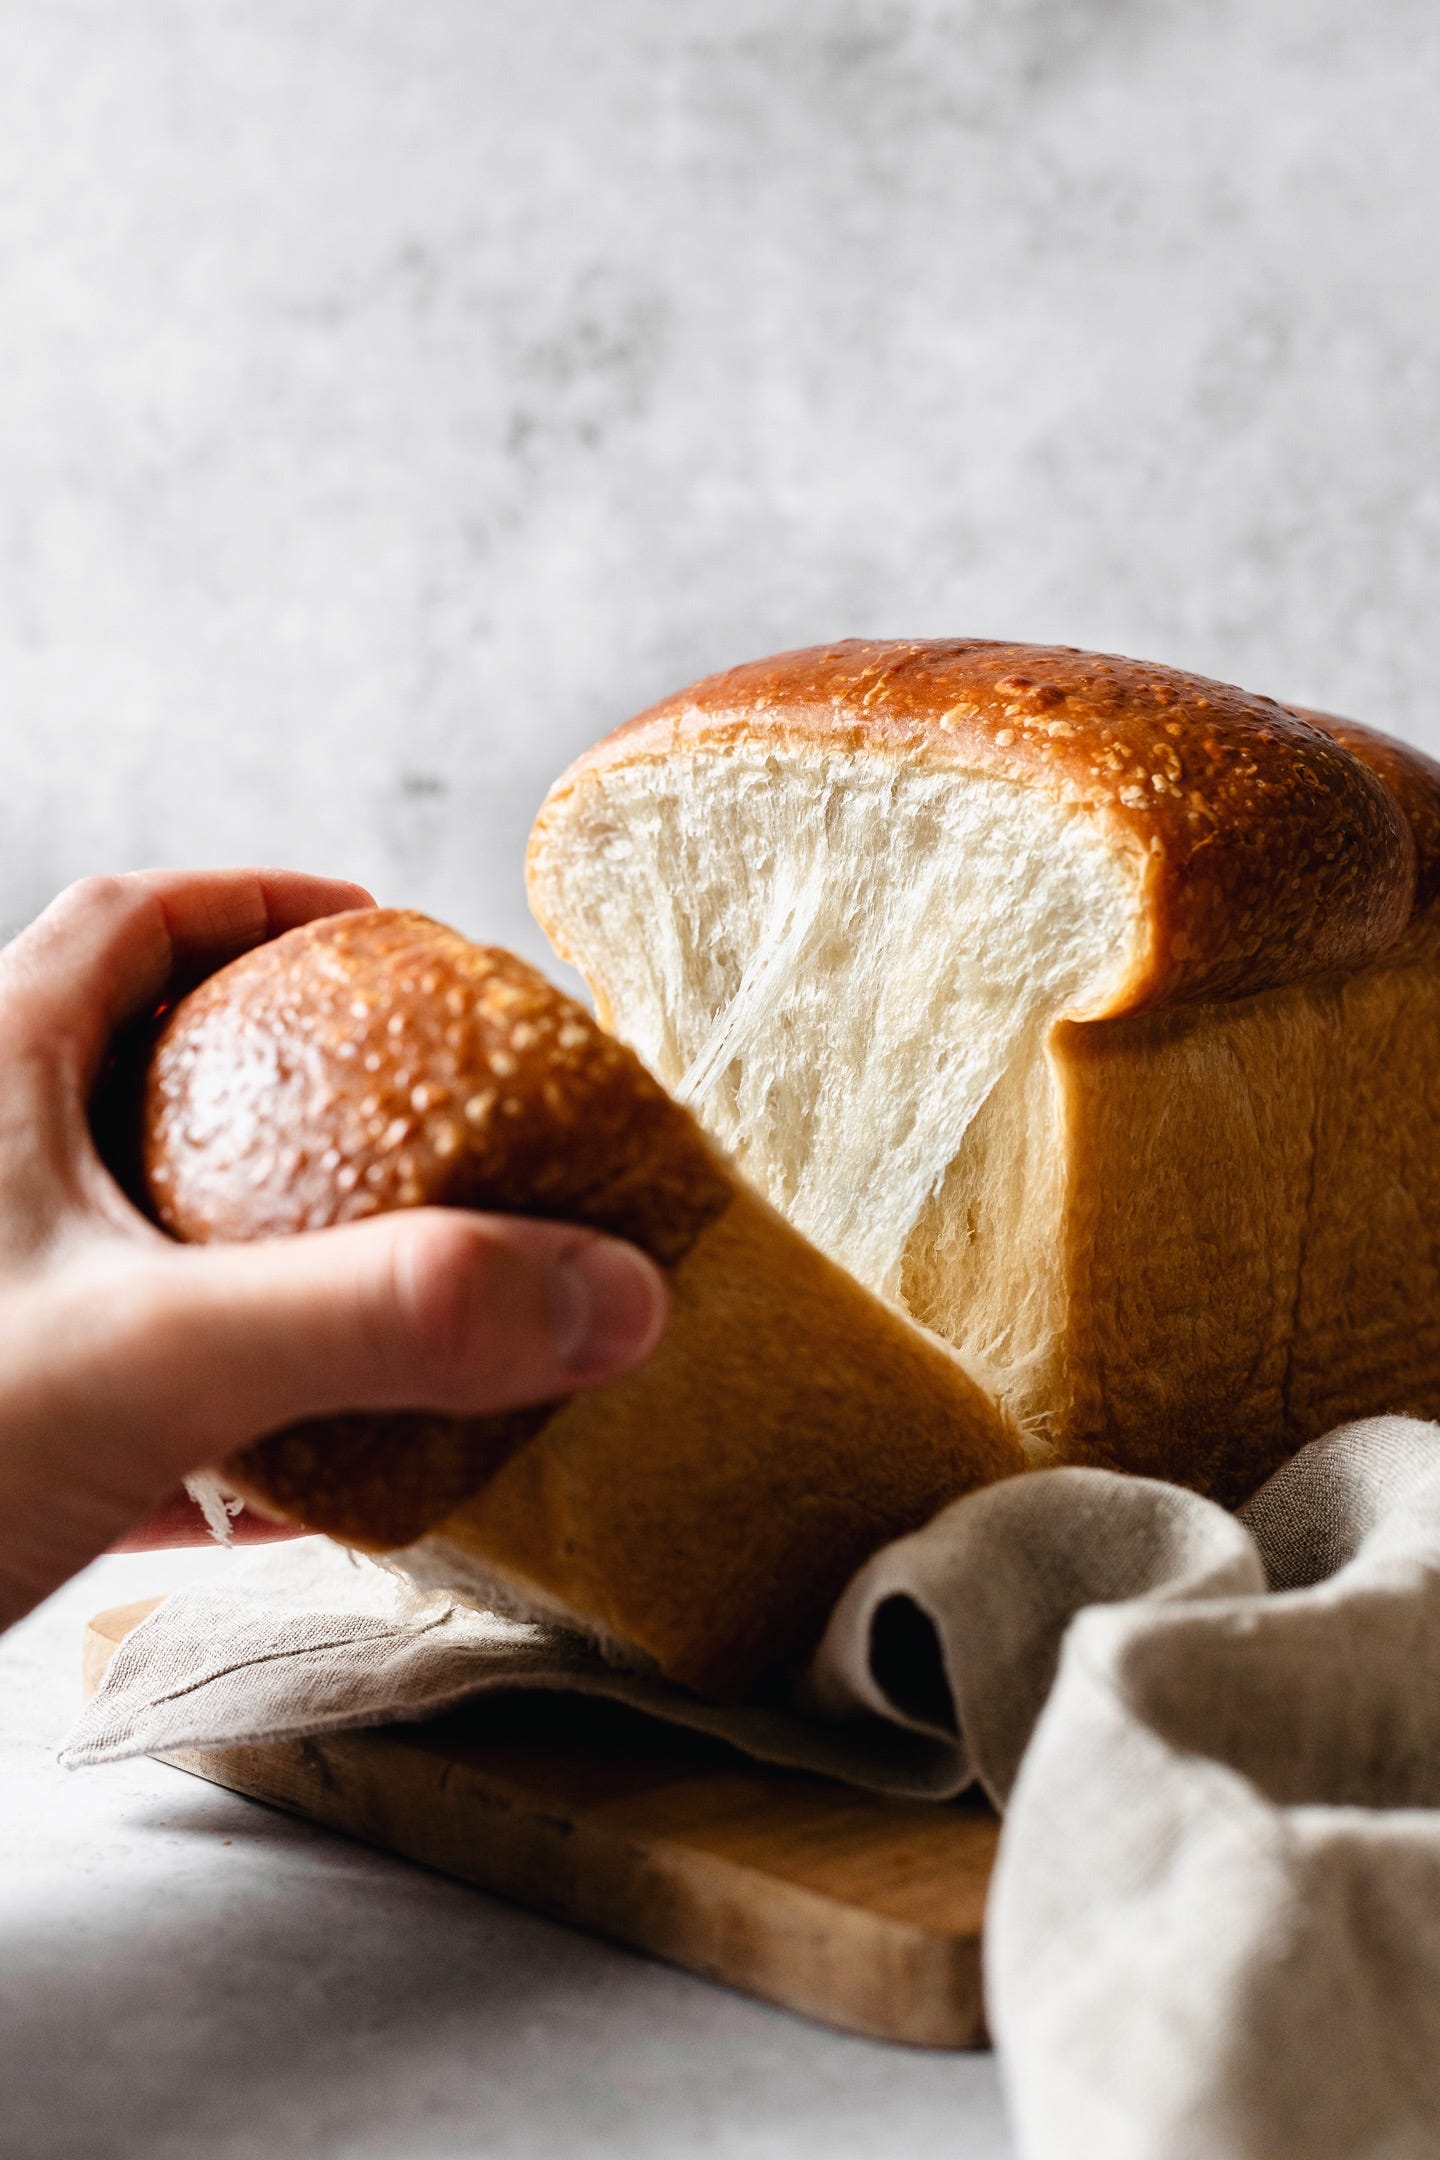
Rich, pillowy, slightly sweet milk bread loaves are perfect for sandwiches, toast, or sweet breakfast treats like French toast or bostock. The dough uses the tangzhong method, which yields a supremely soft and tender crumb. They have to rise for quite a bit as this is a heavily enriched dough, but I promise the wait is worth it. Fun fact: I brought a chunk of this loaf to a first date last January, not knowing that milk bread was one of his favorite foods. We just celebrated our one-year anniversary, so I can confirm this bread snags boys! :)
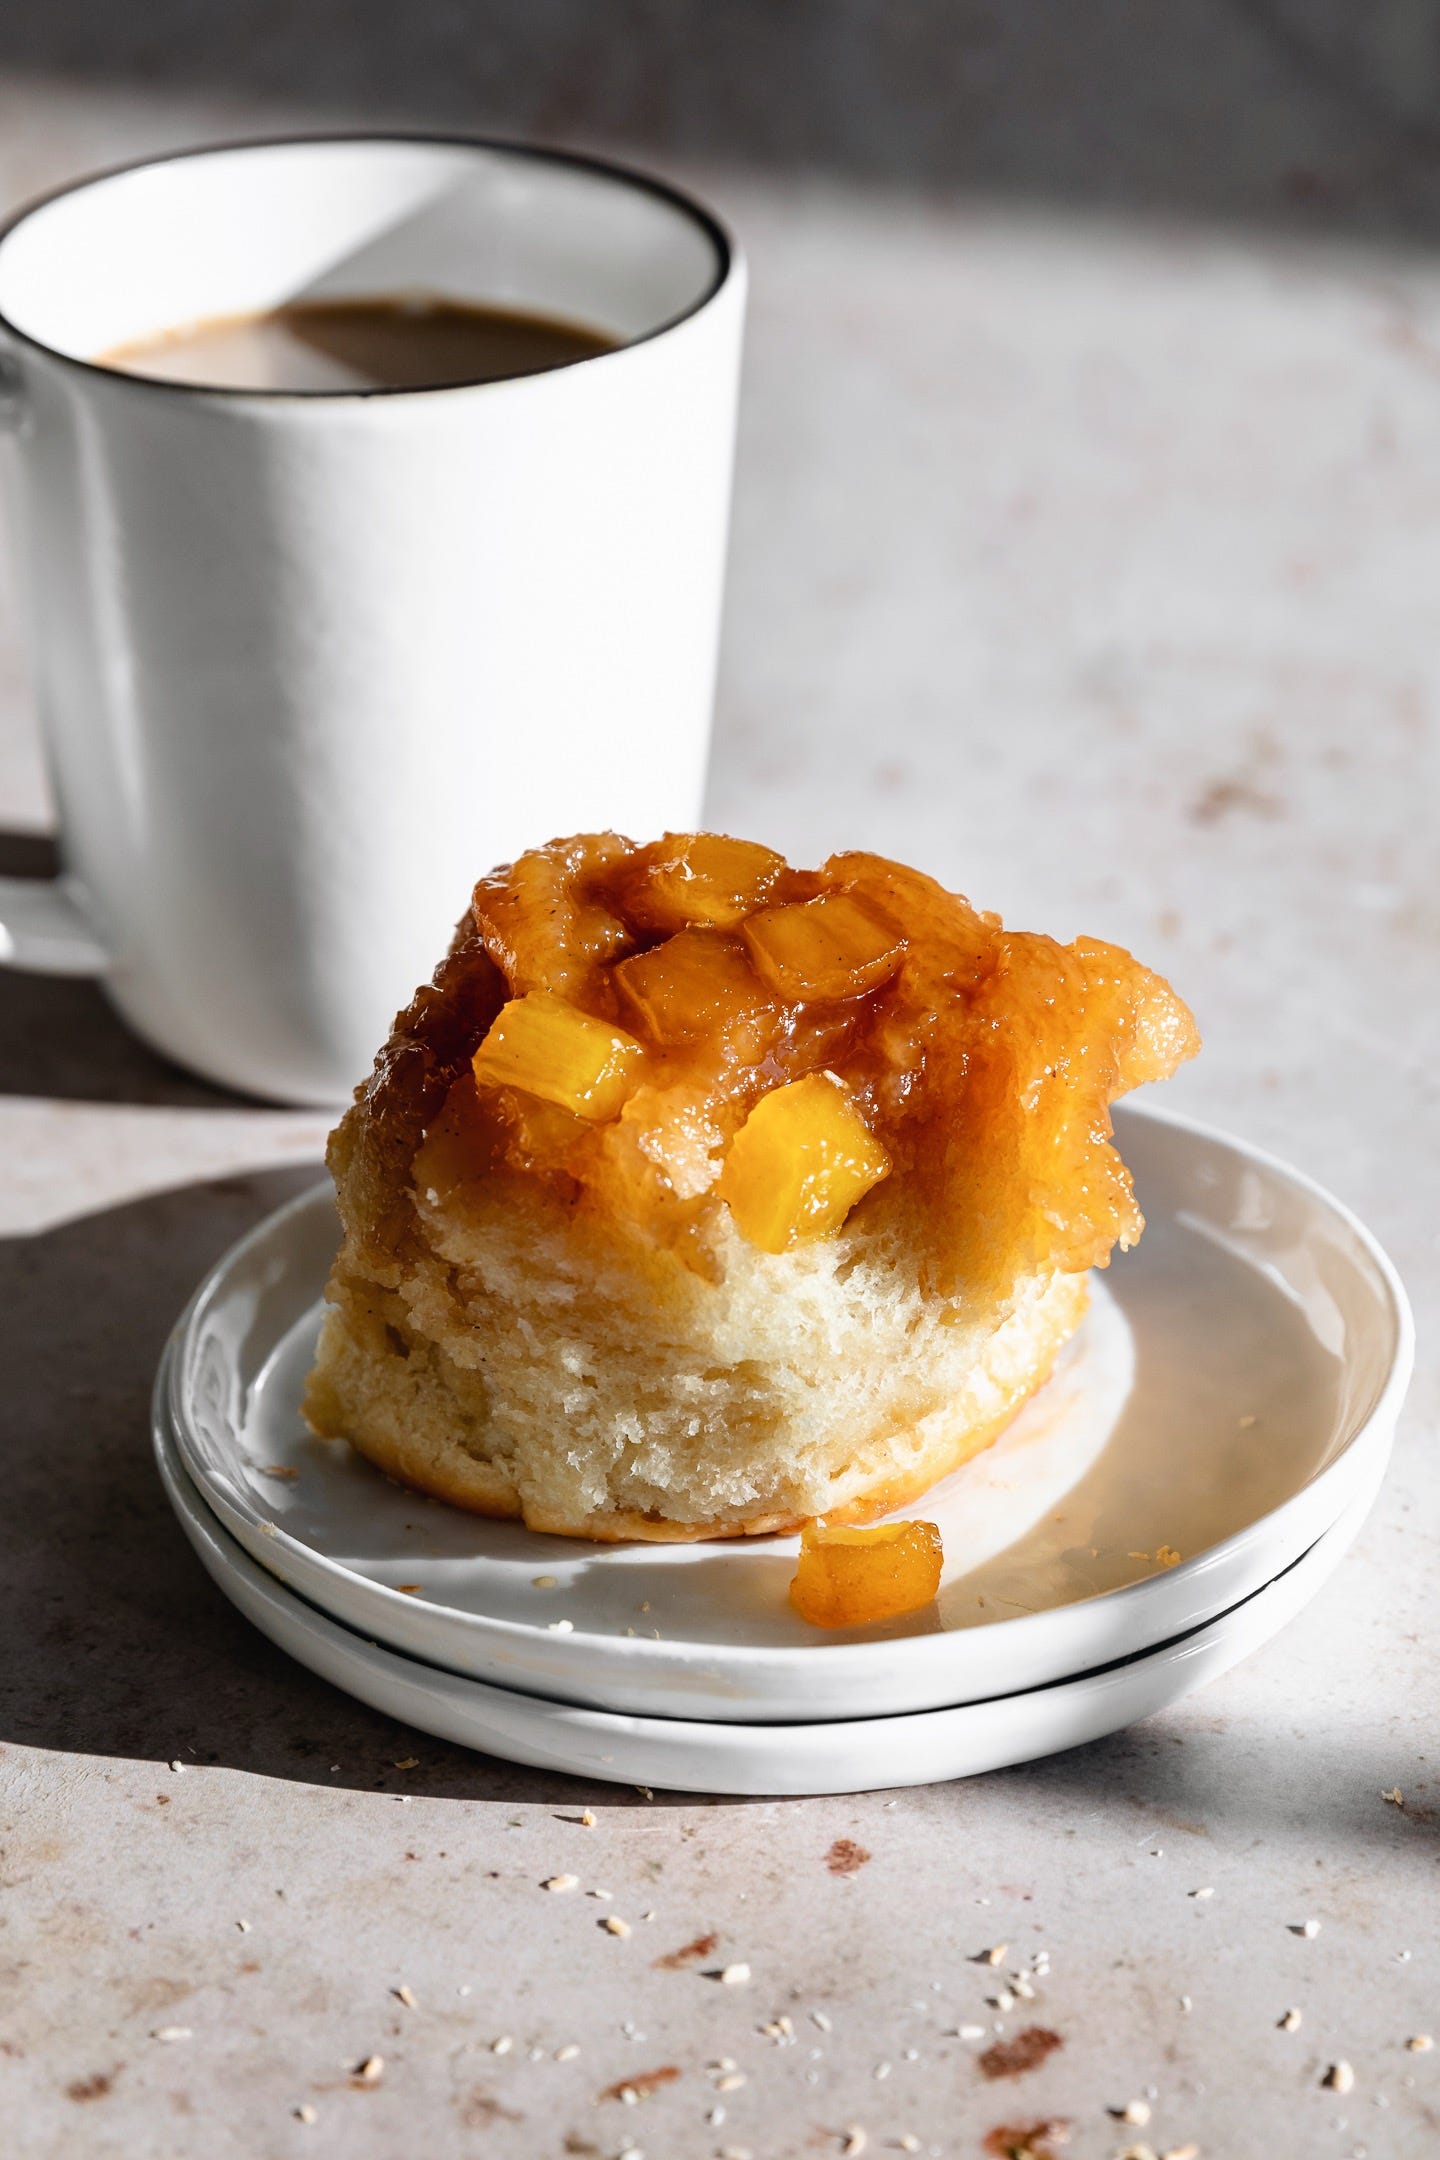
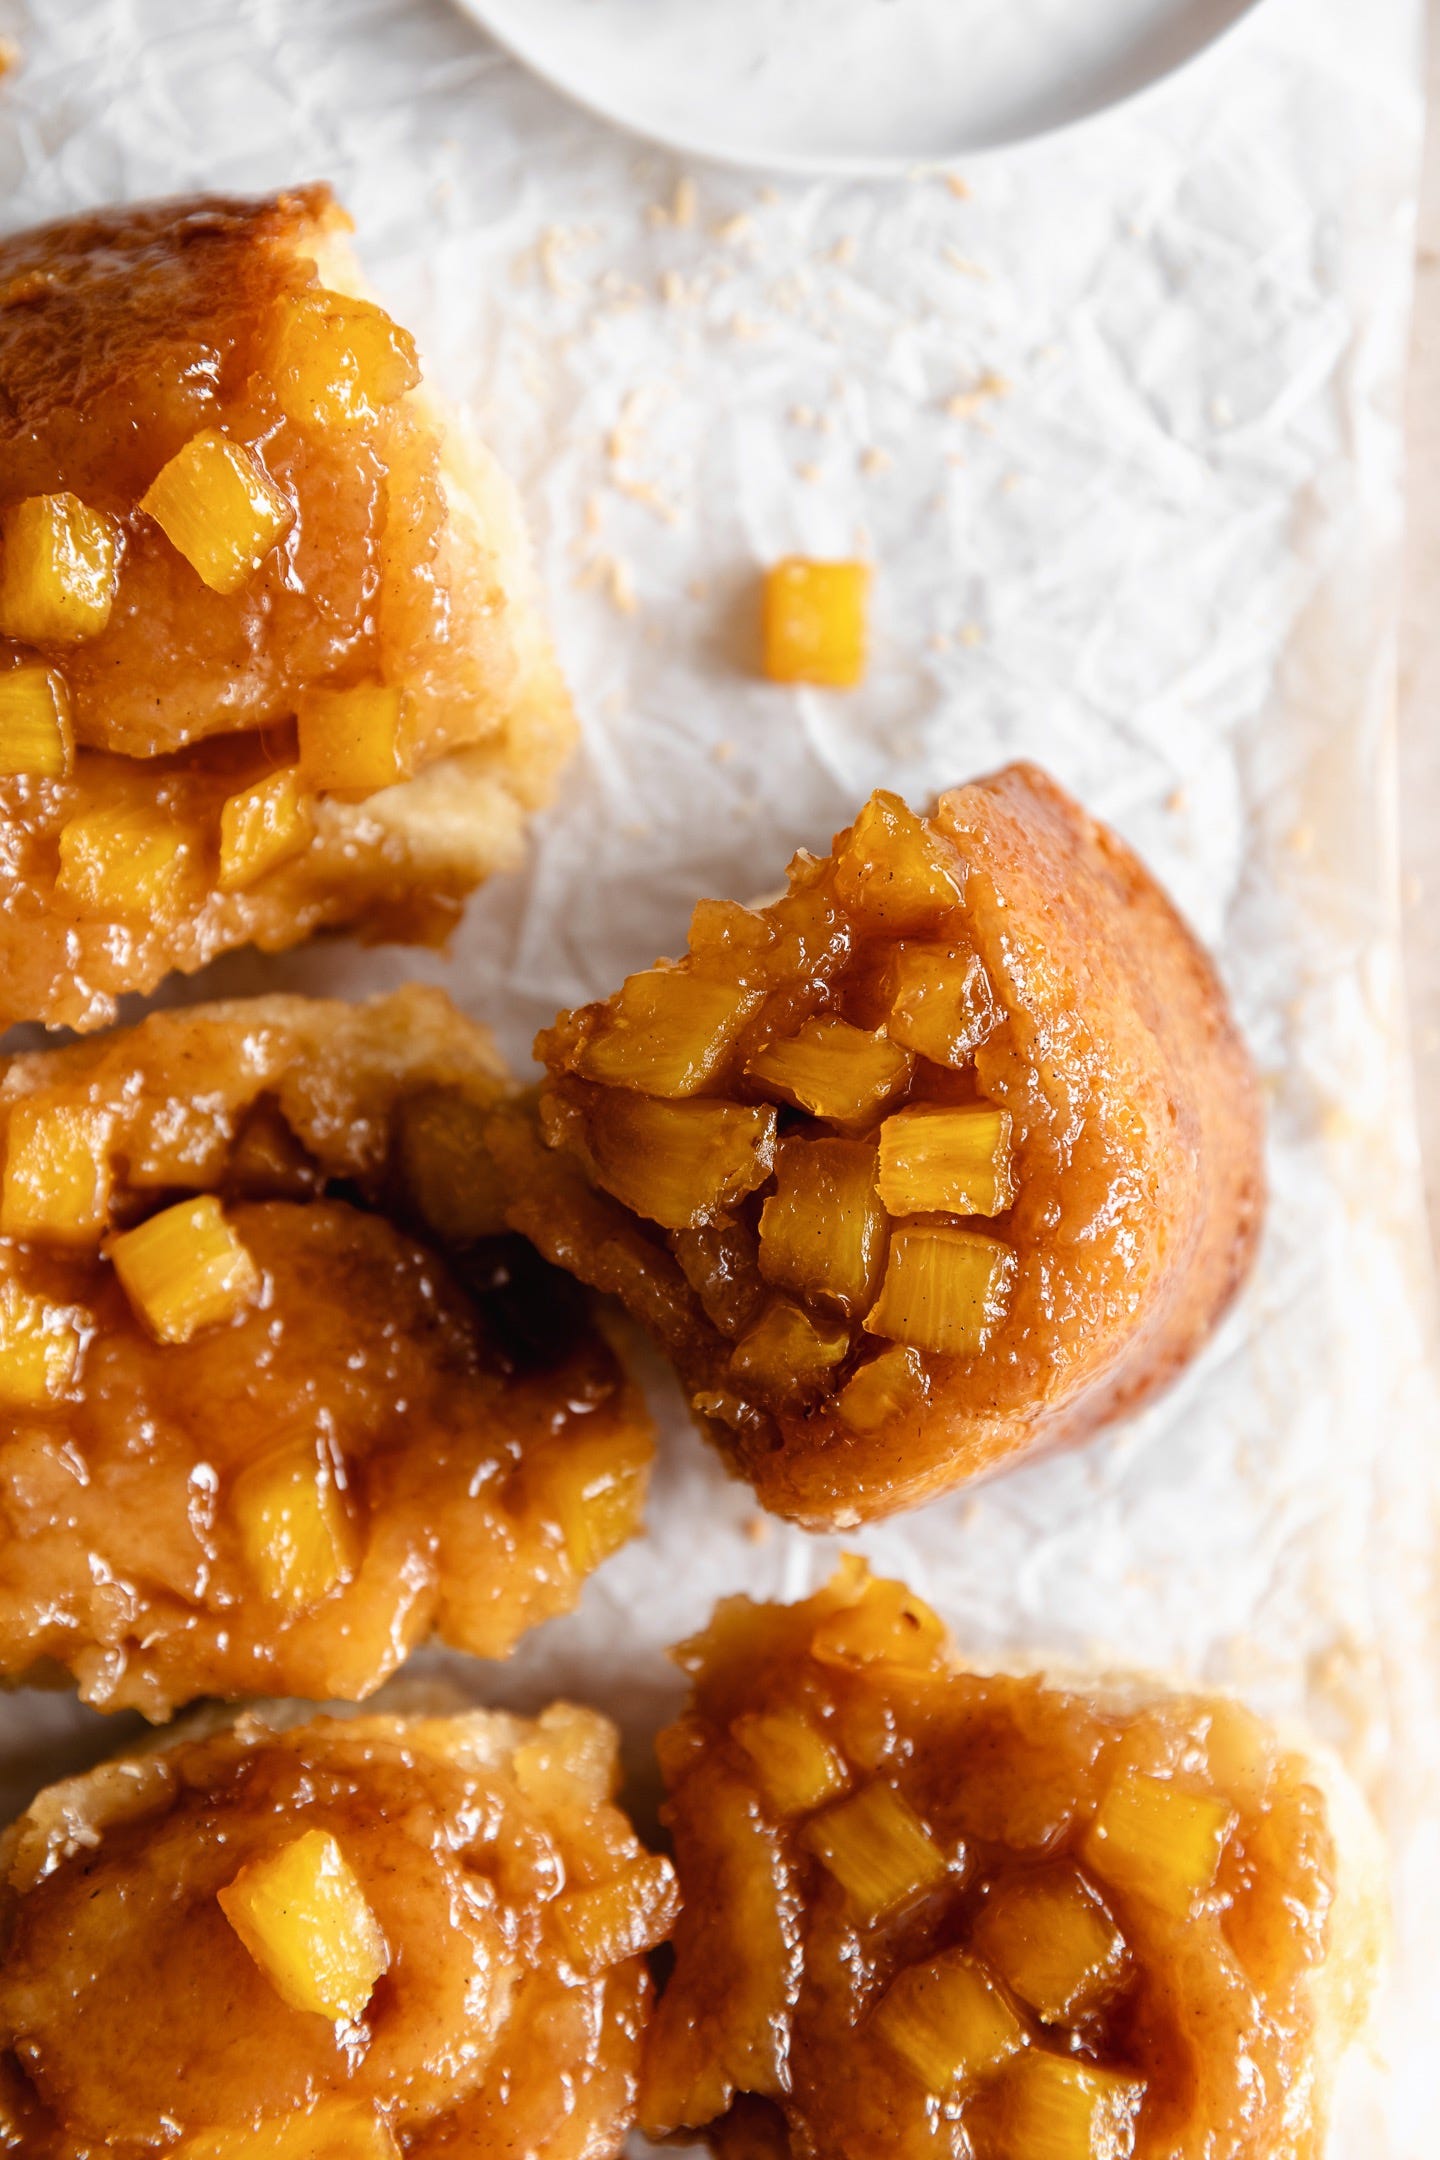
I also use a coconut variation of the same milk bread dough to make the piña-colada-meets-pineapple-upside-down-cake-inspired Caramelized Pineapple Coconut Sticky Buns. The recipe for this tropical breakfast treat is available further down for paid subscribers.
Vegan Milk Bread Loaves (Pain au Lait)
Makes one 4” x 4” x 9” loaf
1 hour active time, 14 hours total time (includes overnight chilling)
Ingredients
1 recipe Vegan Milk Bread Dough
30 g (2 tbsp) liquid vegan egg substitute (JUST egg recommended)
10 g (2 tsp) soy milk
Instructions
Shape and proof the loaf
Generously spray a 4" x 4" x 9" Pullman loaf pan with cooking spray
On a lightly floured countertop, divide the dough into 4 equal pieces, each about 250 g; turn the pieces over so the seam side is facing up; cover with plastic
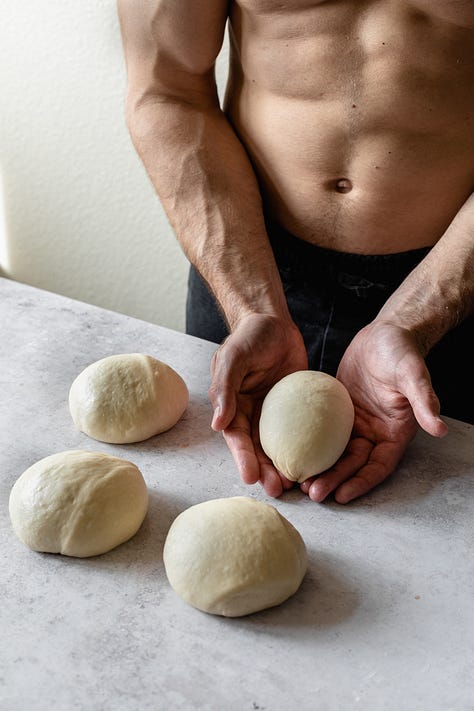
Working with one piece at a time, fold the edges of the dough into the center, pinching them together. Move the piece to an un-floured area of the countertop, and turn the piece over and tuck your hand under the dough to form a ball (see image 1 below). Finally, cup one hand over the ball and rotate it so that the underside catches against the countertop, pulling the surface of the ball taut; set the piece aside and cover with plastic; repeat with the remaining 3 pieces
Cover the 4 dough balls and allow them to rest for 20 mins
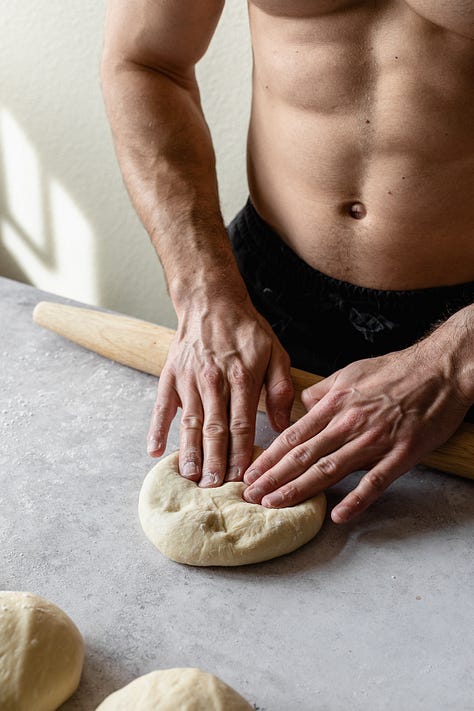
Once they've rested, working with one ball at a time, turn the ball over on a lightly floured surface and press it down lightly (see image 2 below)
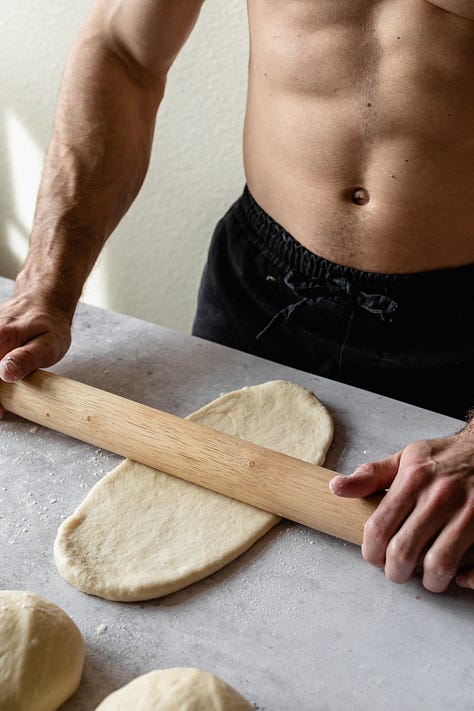
Roll the ball into an oval about 10 inches long and 5 inches at its widest (see image 3 below)
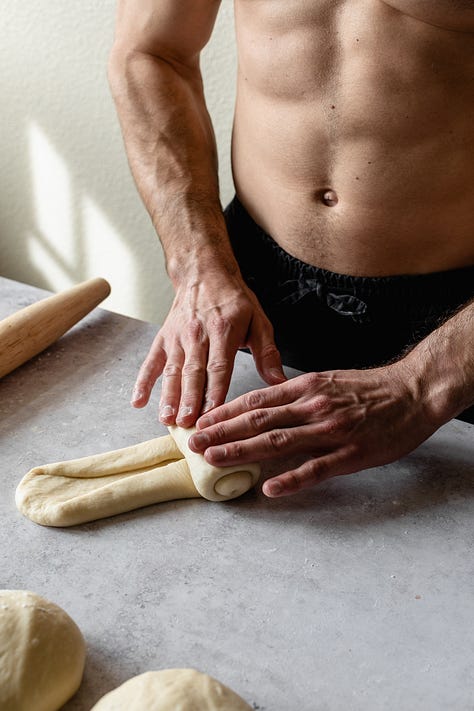
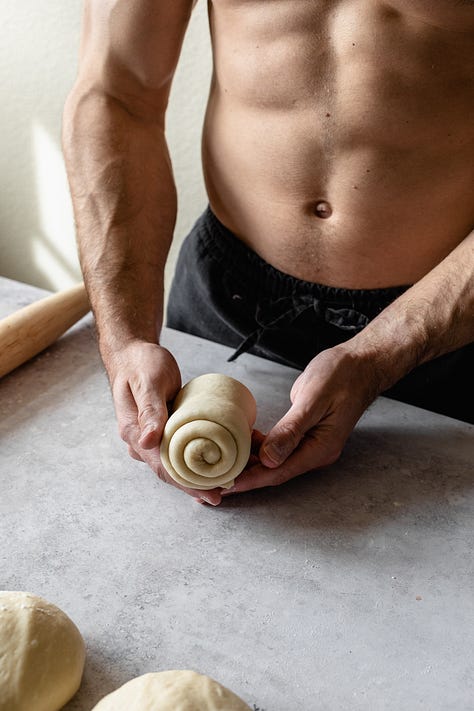
Fold the long edges of the oval into the center and press down to stick them together; beginning at the short edge farthest from you, roll the piece towards you (see image 4 below) until you have a nice tight spiral-shaped log (see image 5 below)
Place the log seam-side down in the prepared pan and repeat steps 5 - 7 above until the pan is filled with all 4 dough logs
Cover the pan loosely with plastic wrap and proof at 82 F for 1 hour, until the dough reaches just above the rim of the pan
Spray the plastic wrap with cooking spray and re-cover the pan; cover that with a small tea towel and place the pan in the coldest part of your fridge (it should be no more than 39 F, otherwise it could over-proof)
Allow the loaf to proof in the fridge overnight for at least 8 and up to 16 hours (this is called a "cold proof")
Bake and finish the loaf
Preheat your oven to 350 F, and place a rack in the middle of the oven
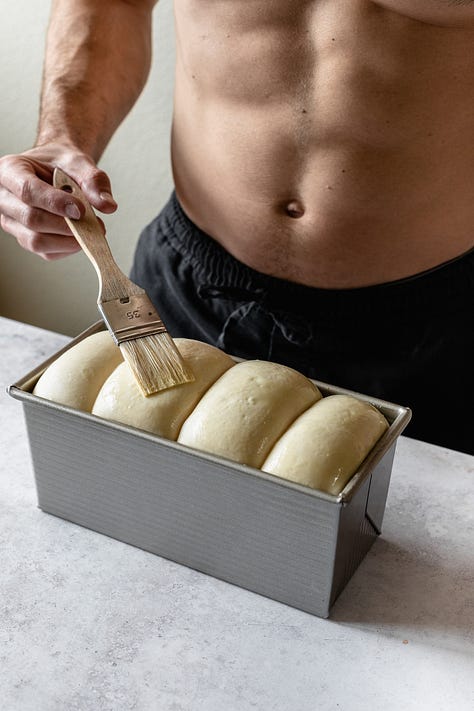
Combine the egg substitute and soy milk and brush a light coating of this egg wash on the top of the loaf
Bake for about 45 mins, until the internal temperature of the loaf reaches 200 F and the top of the loaf is deep golden brown
Allow the loaf to cool in the pan for 10 mins, then tip the loaf onto a wire rack to cool completely
Allow the bread to cool at least a few hours before slicing, otherwise it will be dense and gummy
Notes & Variations
Using a Countertop Proofer
I highly recommend a countertop proofing box for this recipe and for any home bread baking; without it, it is much more difficult to achieve the accuracy in temperature and humidity levels that are necessary to properly proof bread
I use this Brød & Taylor proofer, and I cannot recommend it enough
Things I Used
As an Amazon Affiliate and Food52 Curator, I earn a small commission on anything purchased through these links
Ingredients
JUST Egg vegan liquid egg substitute
Equipment
Brød & Taylor countertop proofer
I have a kind of obsession with baking with pineapple. Pineapple isn’t my favorite fruit eaten raw, but when it’s baked into a cake, cooked down into a compote, or just caramelized in a pan, something magical happens. That’s why pineapple upside-down cake is one of my favorite desserts, and that is where the inspiration for these sticky buns began. I thought, "Why not replace the nuts in a sticky bun with pineapple?" And as I thought about it more, I realized that pineapple's most iconic partner - coconut - is a classic vegan substitute for the milk, eggs, and butter in a typical sticky bun.
So, in this recipe, the sticky bun syrup is made with coconut oil and coconut cream instead of dairy butter and heavy cream. Similarly, coconut oil and coconut milk stand in for butter and milk in the dough. To top things off, the buns are rolled with a sweet, coconut-and-vanilla-bean-perfumed filling and sprinkled with toasted coconut. The result is a tropical treat that might just happen to be the best breakfast pastry you’ve tried in a while, vegan or not.


